Flowers decorated with Tissue Paper

#v11920

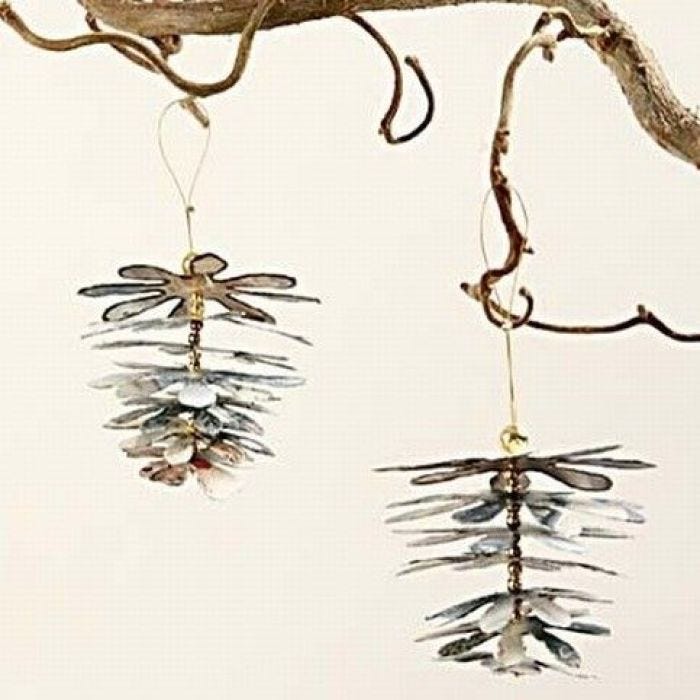
Flowers decorated with tissue paper and assembled with beading wire and beads.

Select products for the idea

{{ optionsGroup.label }}

{{ getVariantsButtonText(option) }}


Total price
{{ getFormattedBundlePrice() }}

{{ getRewardMessage() }}

Guide step %d
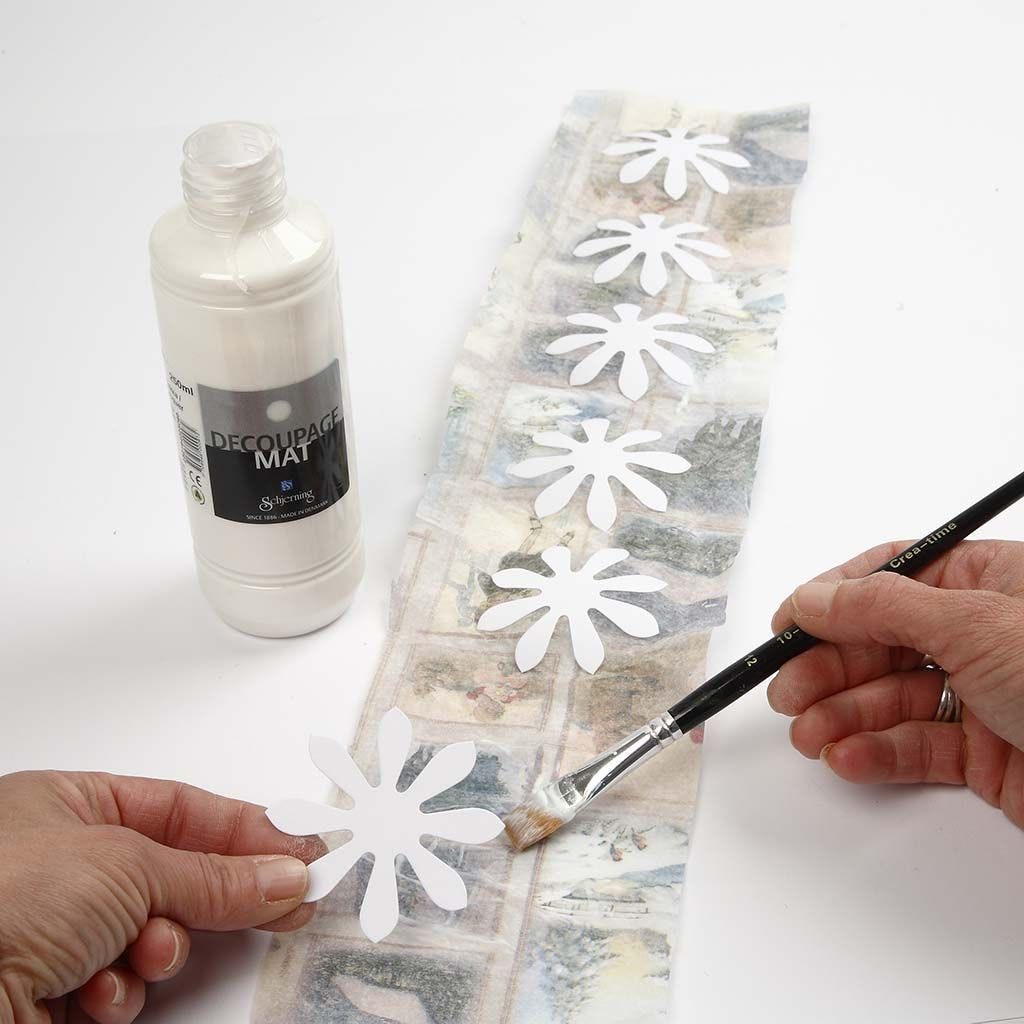
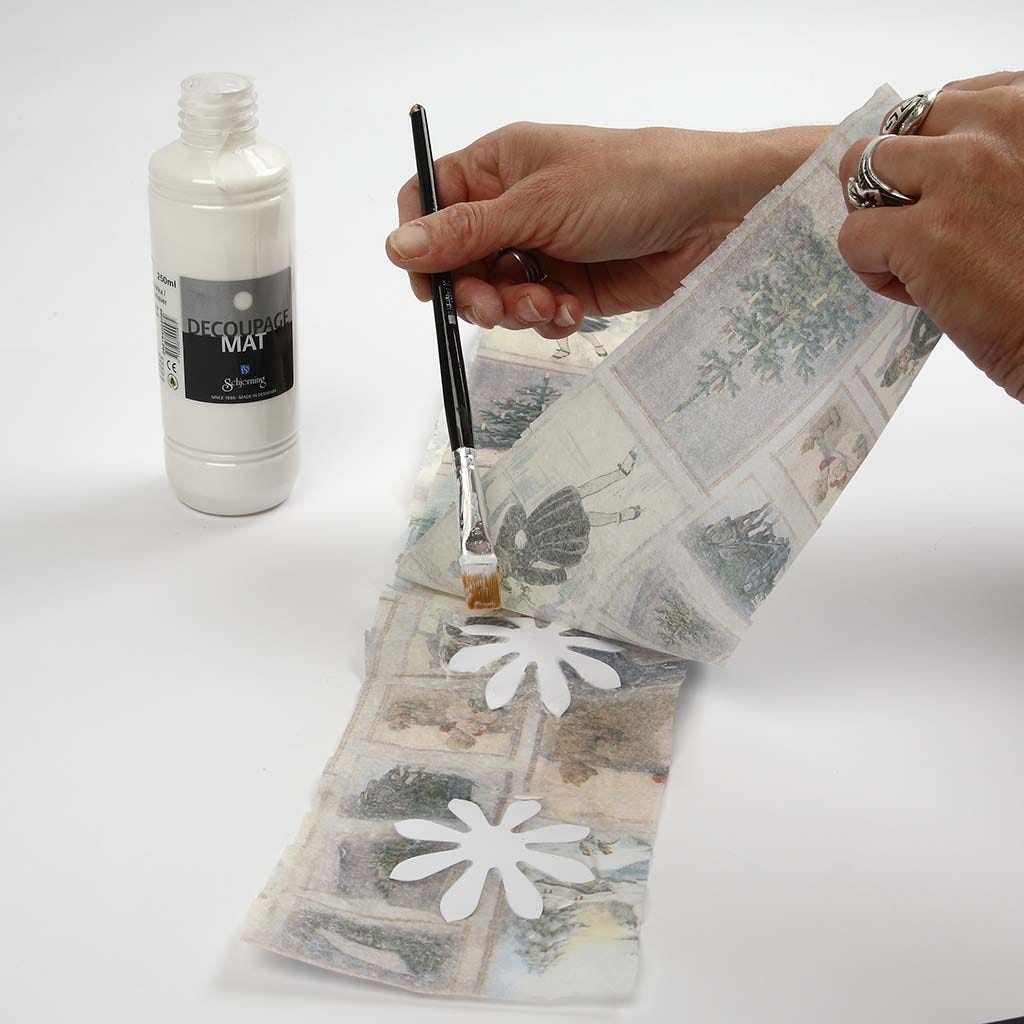
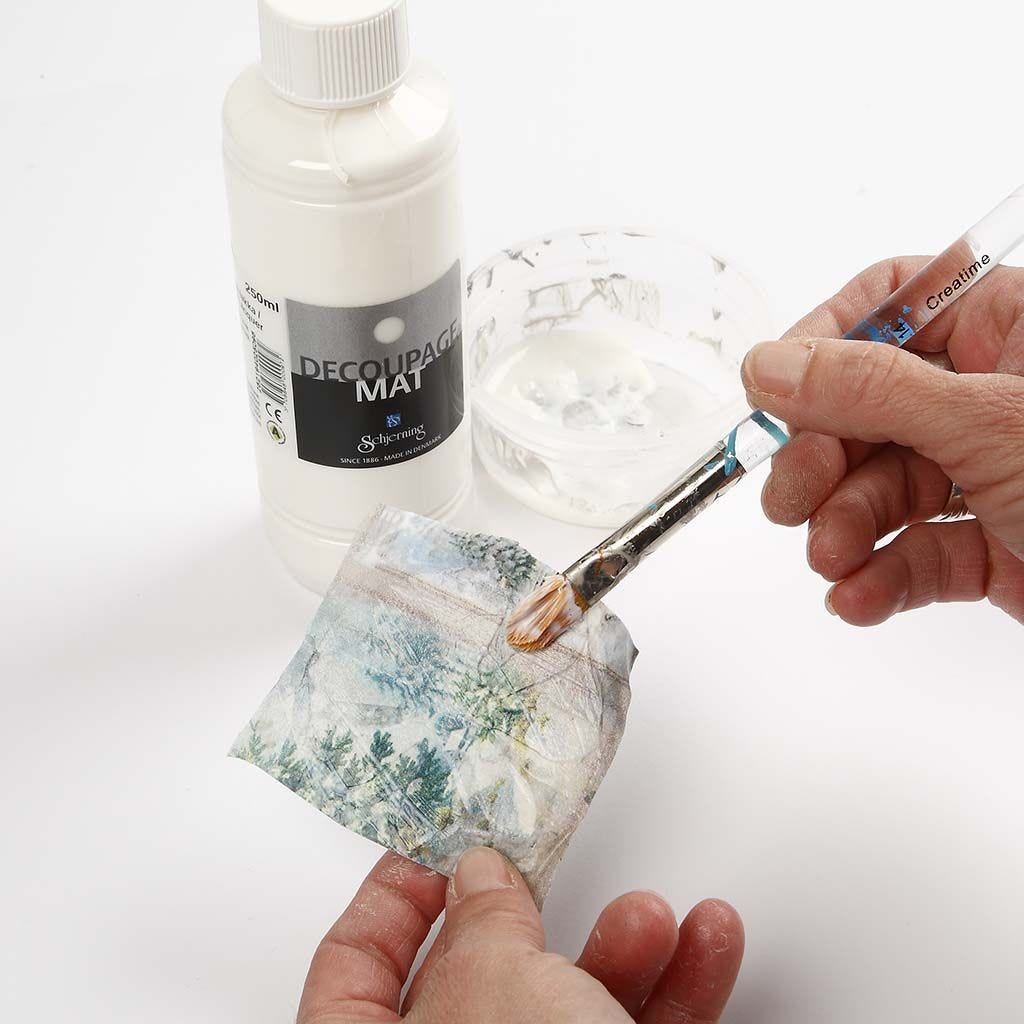
1   Cut tissue paper into suitable pieces, brush with Decoupage Lacquer and put the flowers onto the tissue paper.
Guide step %d
2   Apply another coat of Decoupage Lacquer and put the other piece of tissue paper on top. Press firmly.
Guide step %d
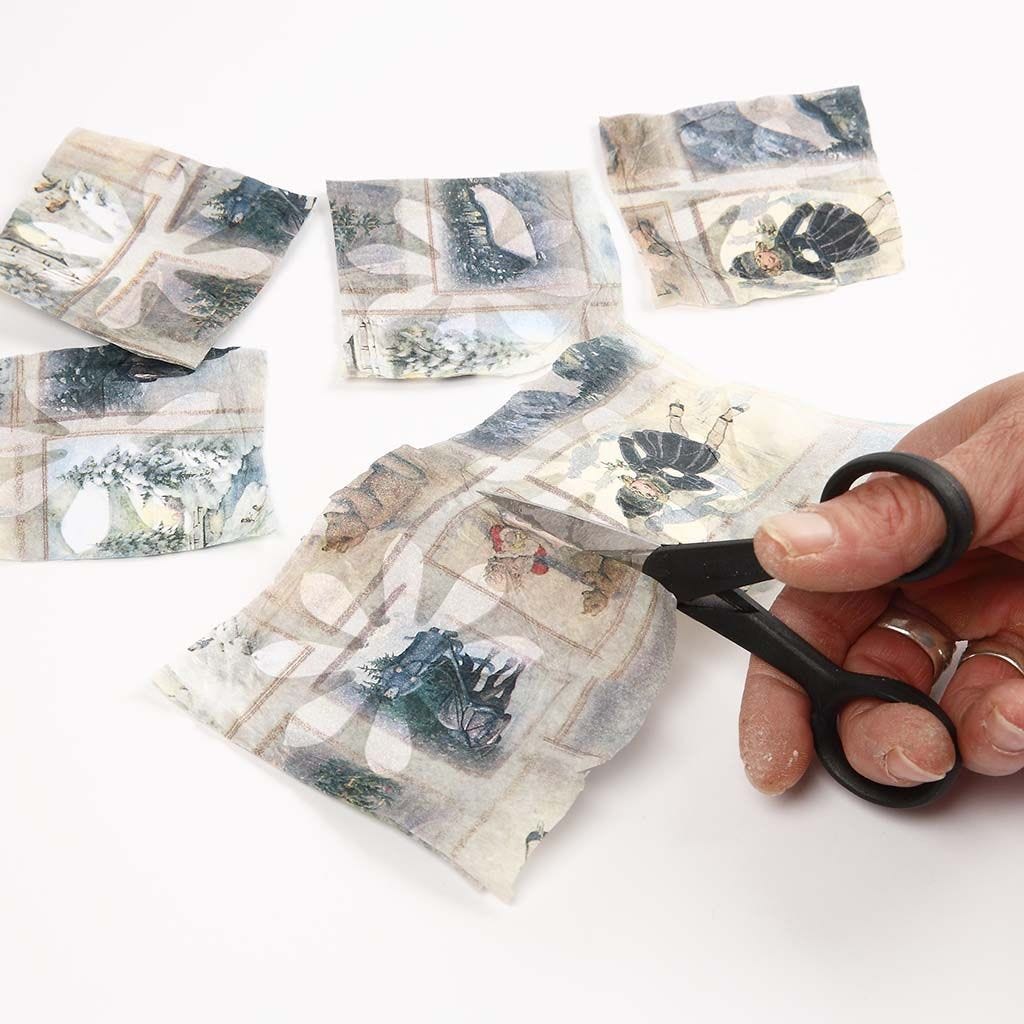
3   Cut the tissue paper between each flower.
Guide step %d
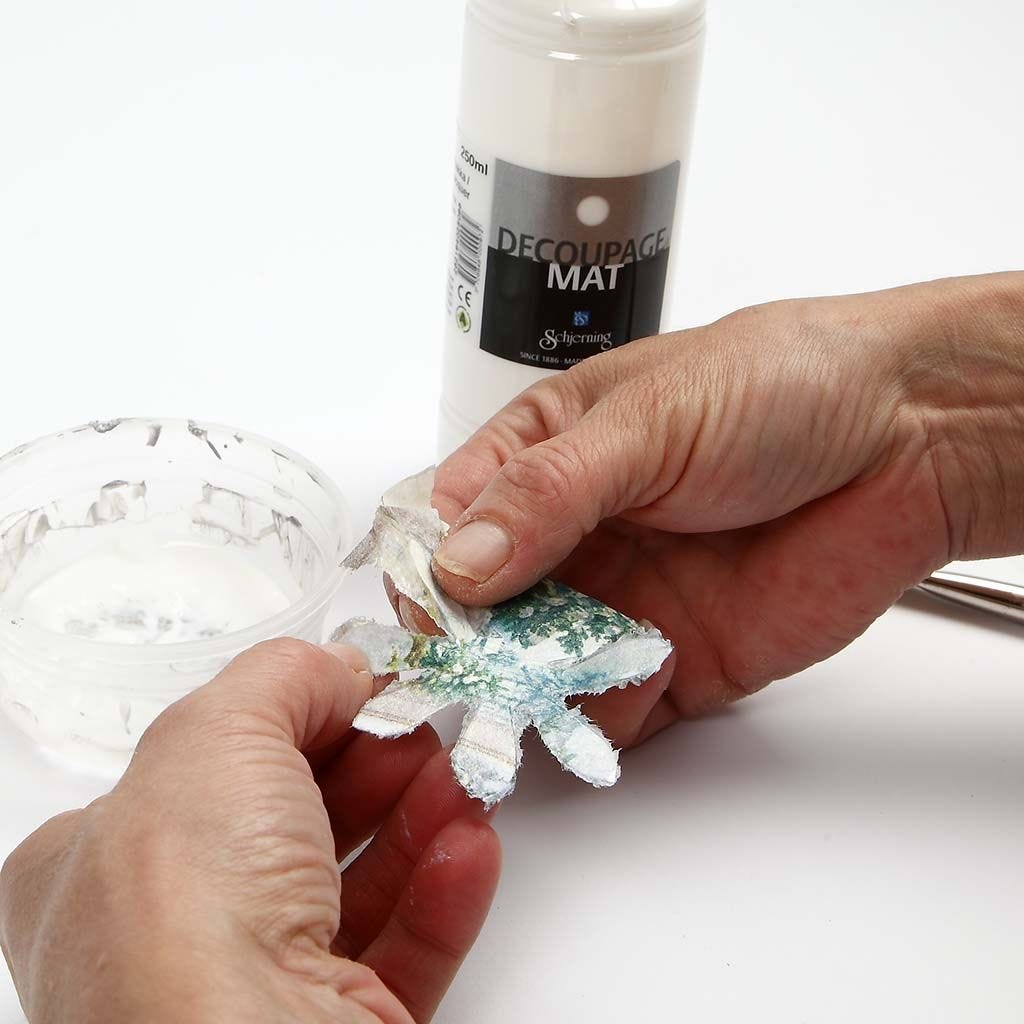
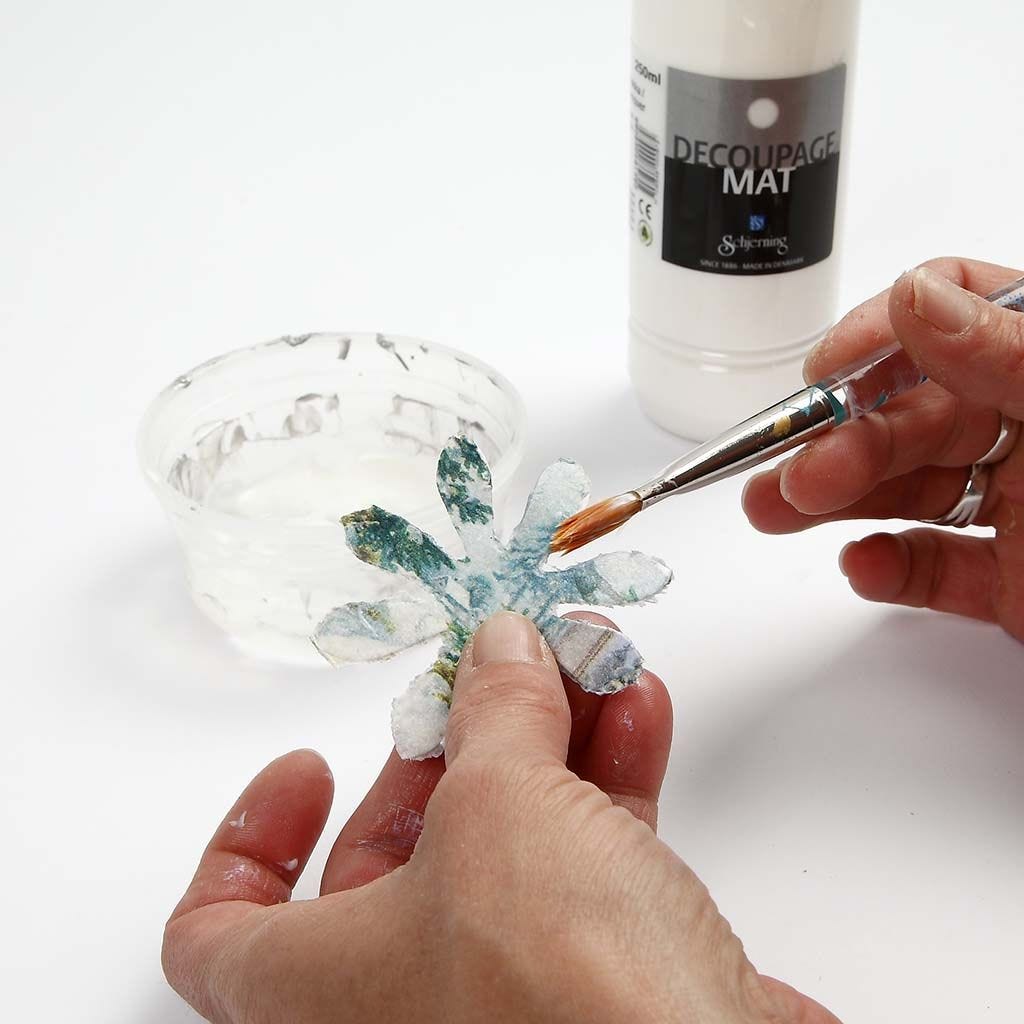
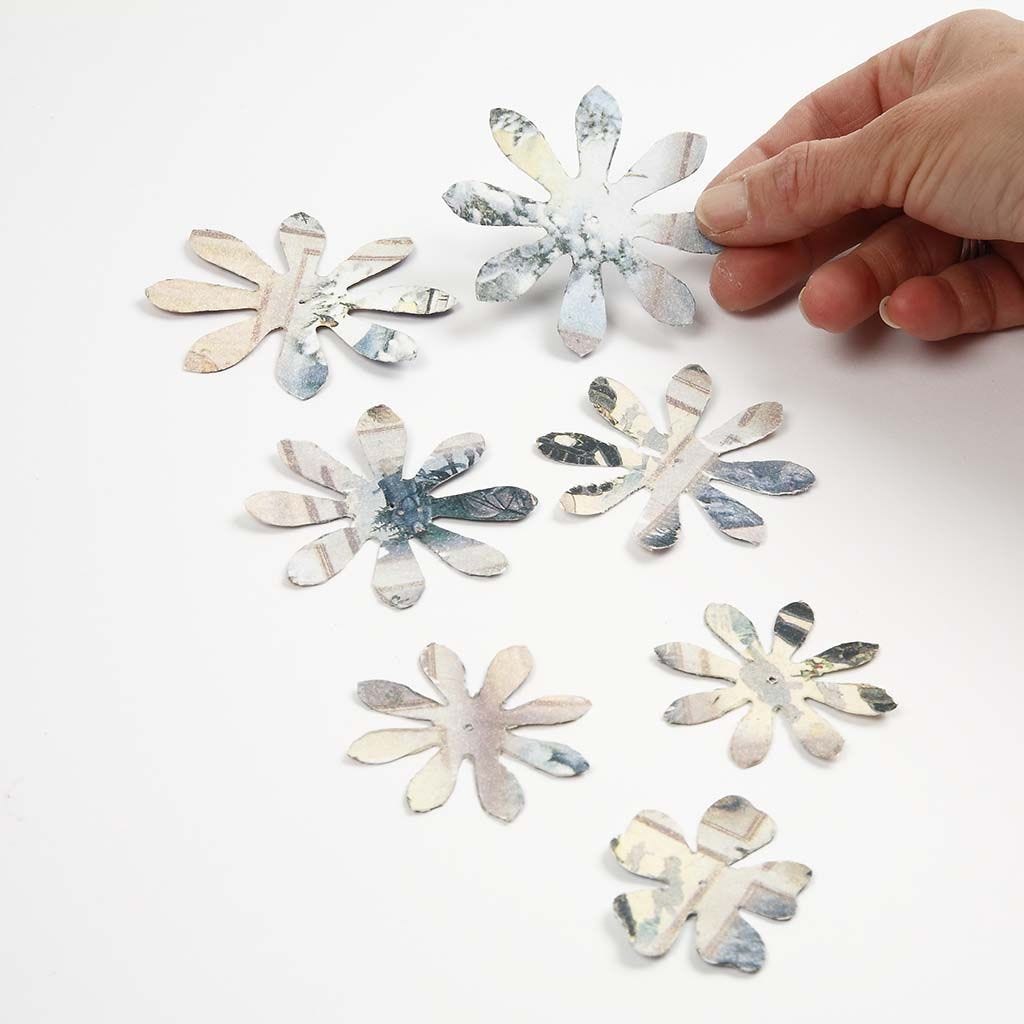
4   Apply a layer of Decoupage Lacquer on both sides of the flower before tearing the tissue paper around them.
Guide step %d
5   Tear whilst the lacquer is still wet.
Guide step %d
6   Trim the edges with Decoupage Lacquer.
Guide step %d
7   When dry assemble the flowers to make a pine cone. Two large, two medium, two small and one very small flower.
Guide step %d
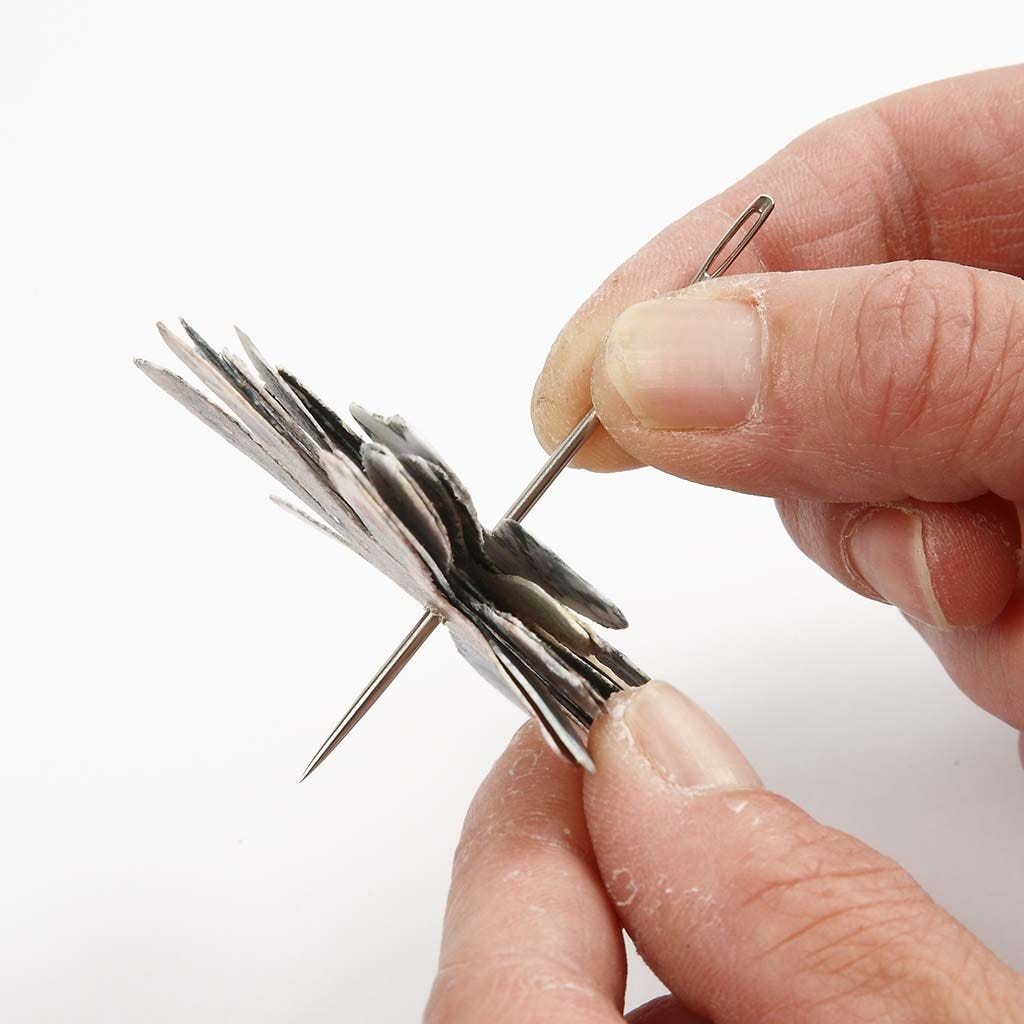
8   Make a hole in the middle of the flowers with a needle.
Guide step %d
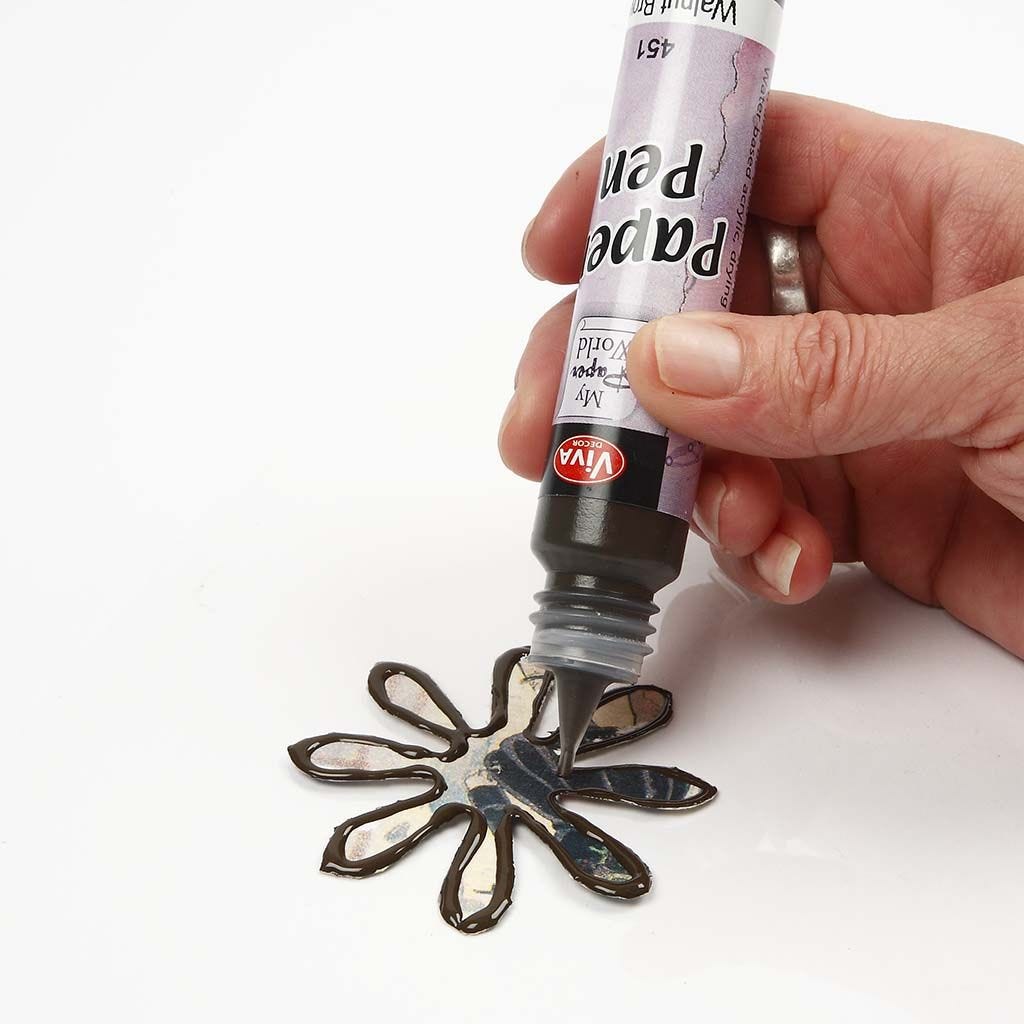
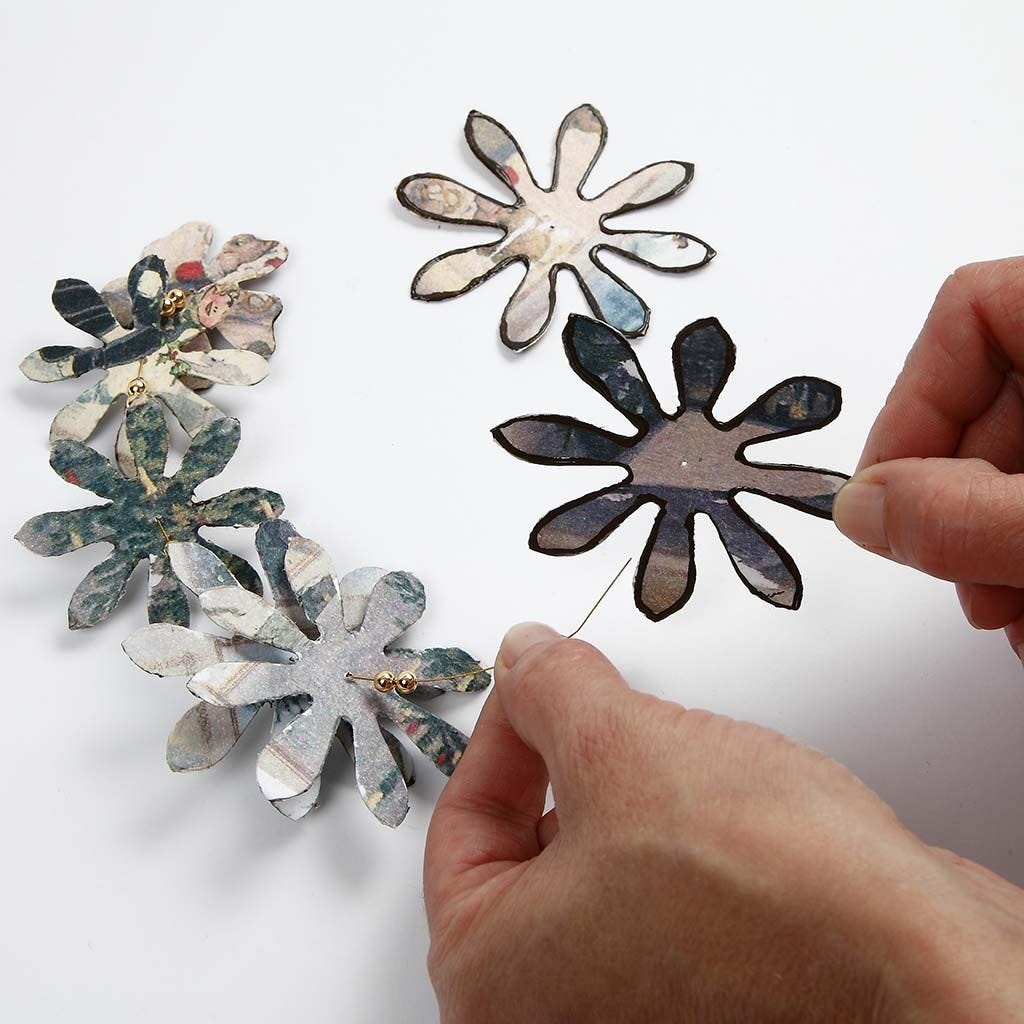
9   Decorate the edges with a Paper Pen. Let the flowers dry.
Guide step %d
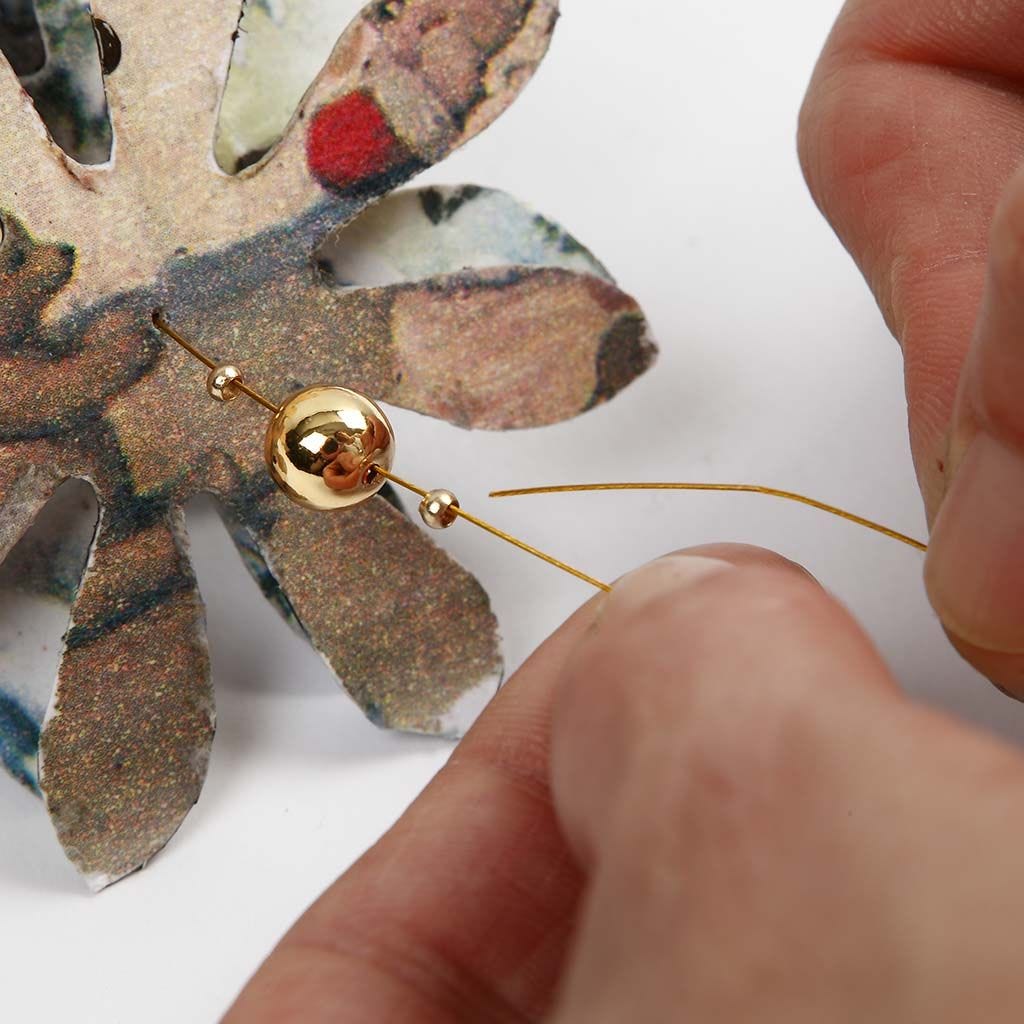
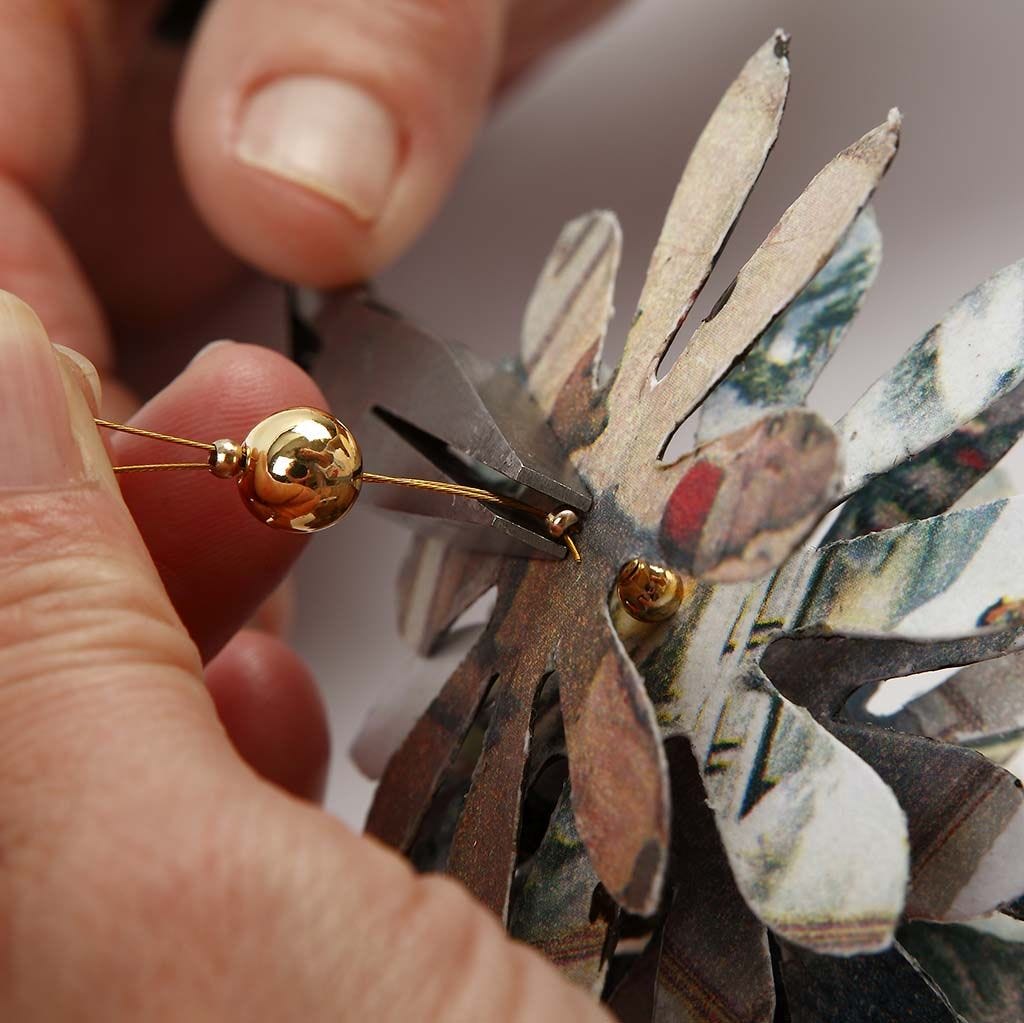
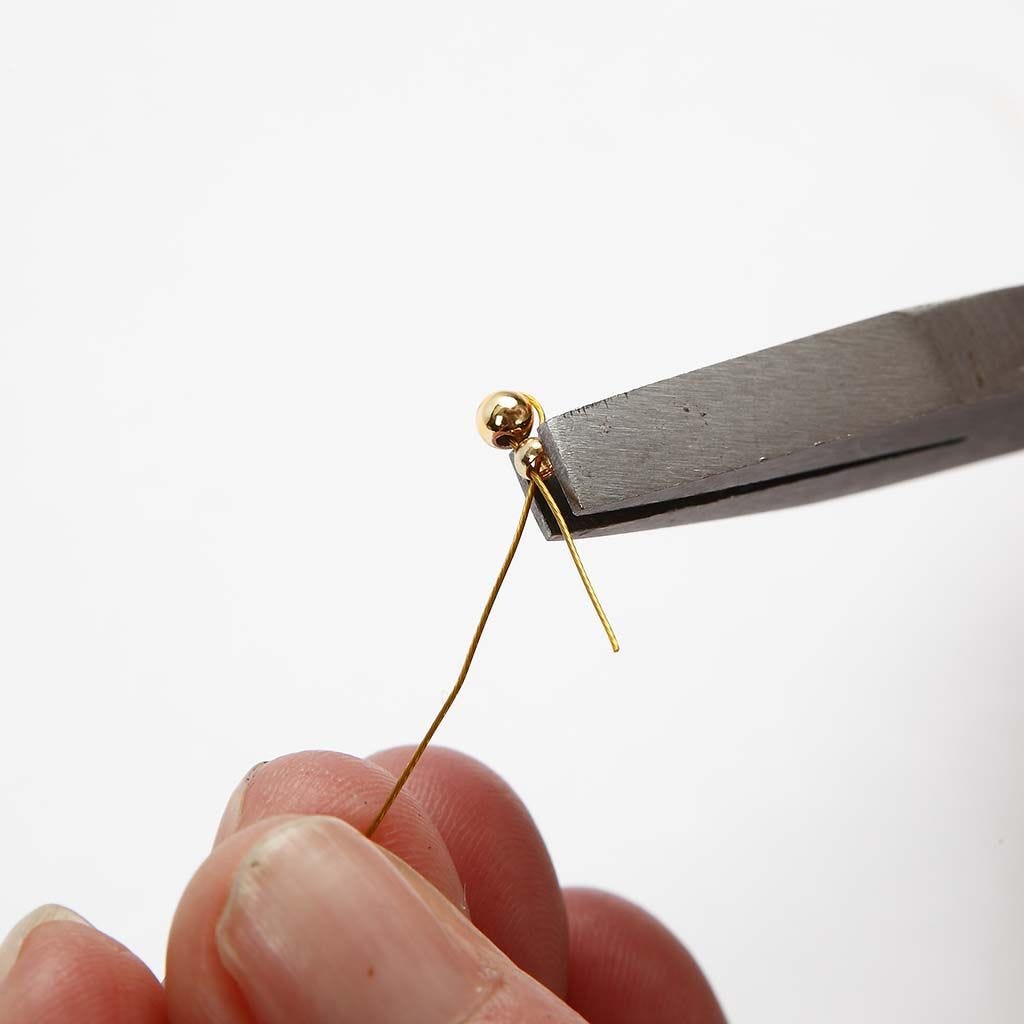
10   Assemble the pine cone. Cut 30cm of beading wire, attach crimp beads and a wax bead and feed the end of the wire back into the crimp bead and close. Cut off the end.
Guide step %d
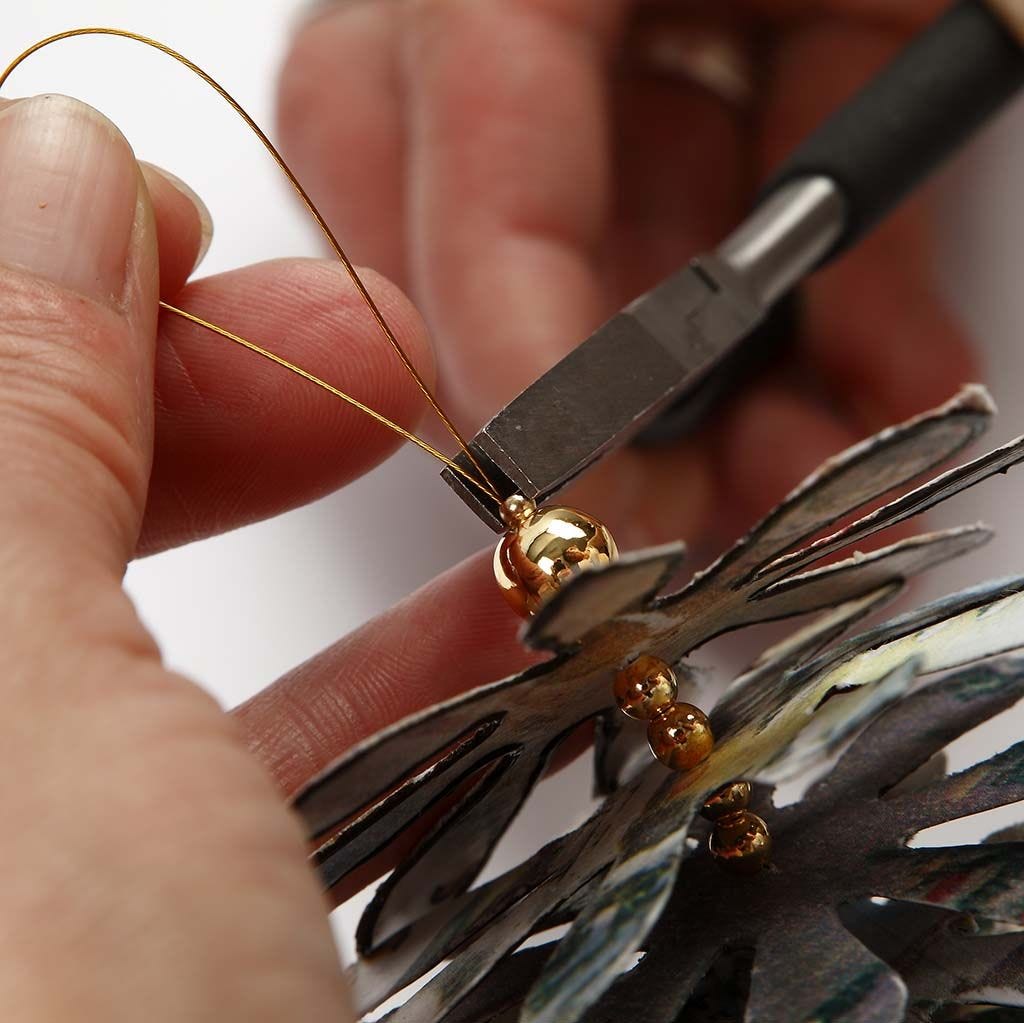
11   Put the four different sizes of flowers onto the wire. Start with the smallest plus two beads. Then two flowers of each size; small, medium and large. Put two beads between each flower.
Guide step %d
12   Put on a crimp bead, a bead and then another crimp bead. Feed the end of the wire through all three beads.
Guide step %d
13   Tighten the beading wire so the pine cone is tight. Close the crimp bead.
Guide step %d
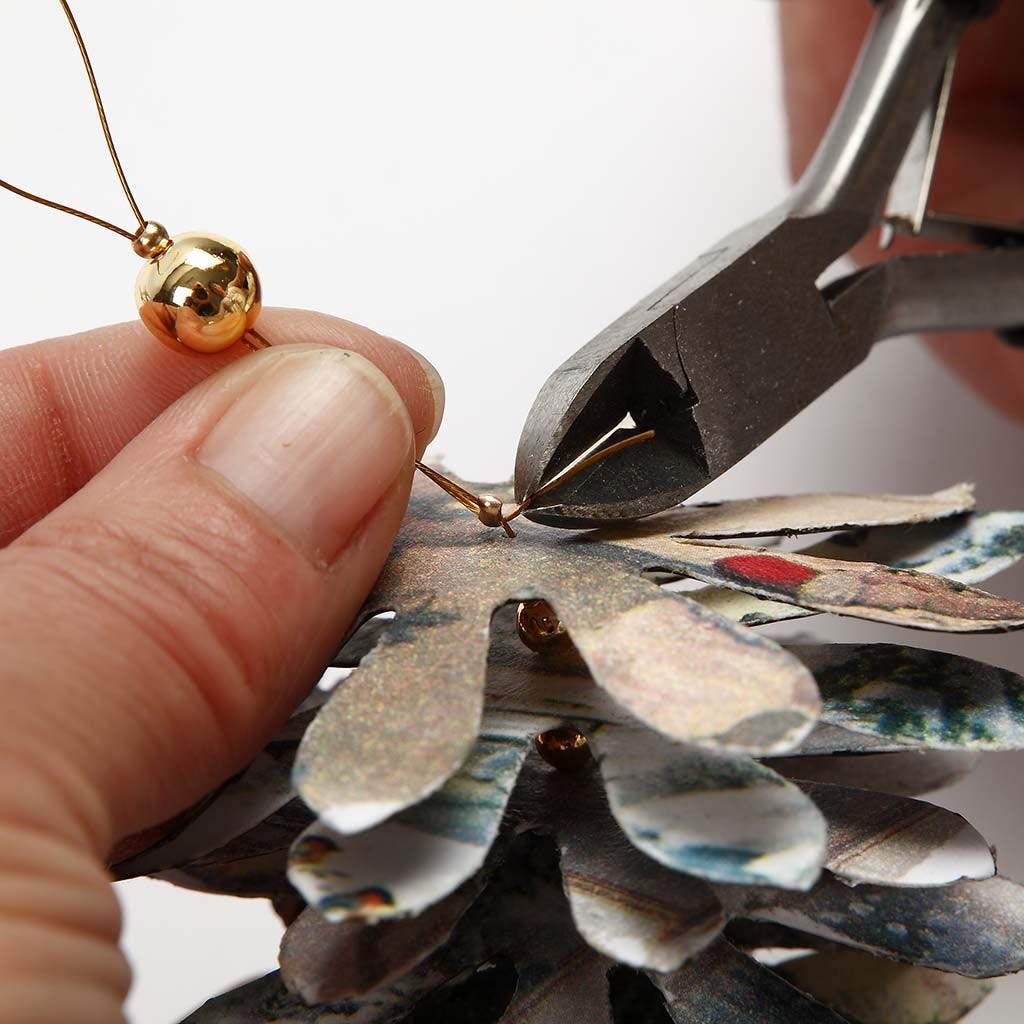
14   Cut off the end.
Guide step %d
15   Finally squeeze the top crimp bead.
Guide step %d
Another variant   Gloss Gel is here used for the edges and then sprinkled with silver glitter.
Also go exploring in
Copyright © 2021-present Magento, Inc. All rights reserved.