
New
Creative idea
3D-vægkunst med tre forskellige materialer og teknikker
#v16835
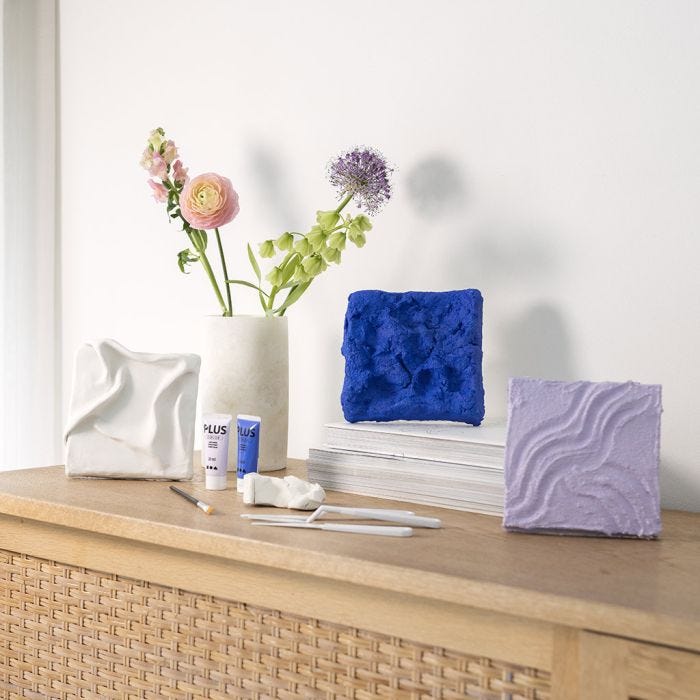
Create your own 3D wall with three different techniques – one with self-hardening clay, one with papier-mâché and one with modelling paste. The finished pieces add a fresh touch to any interior design, and older children can try making their own wall art by themselves.
#v16835
How to do it
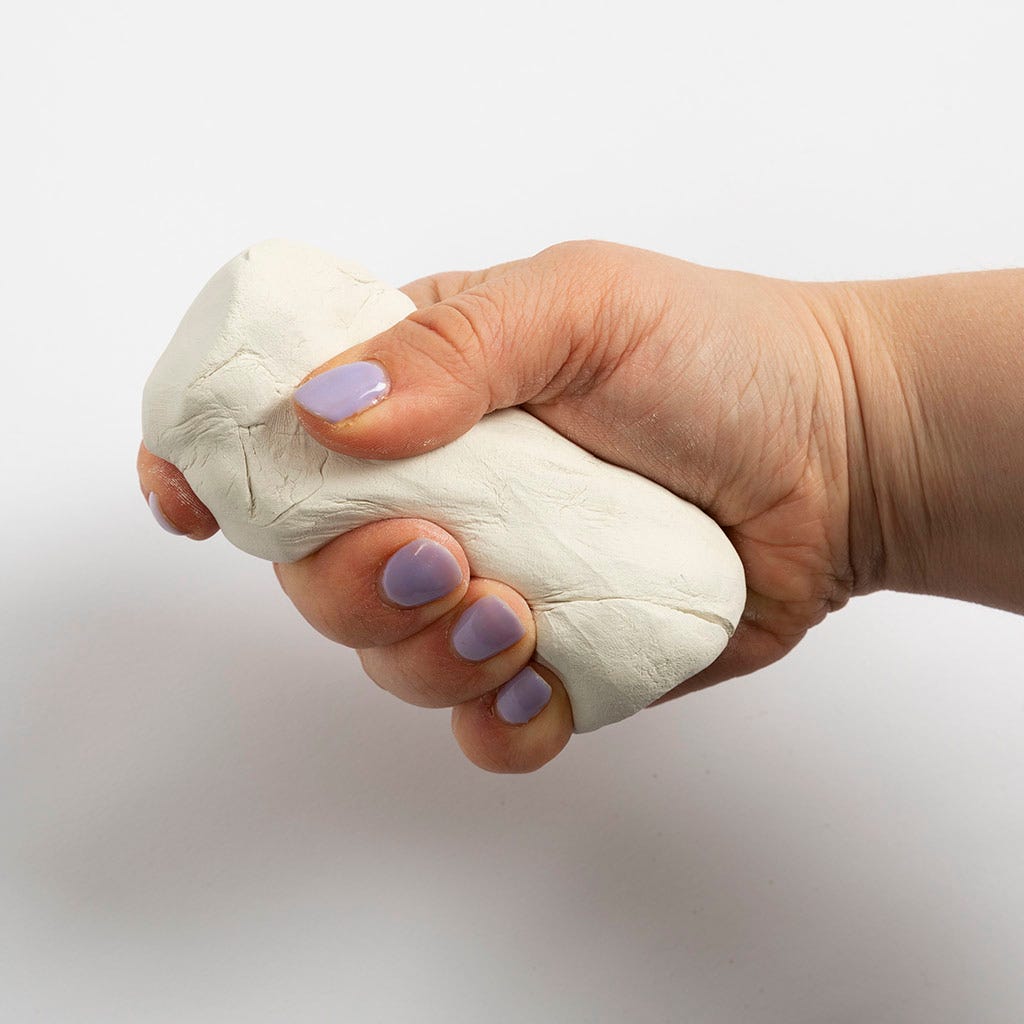
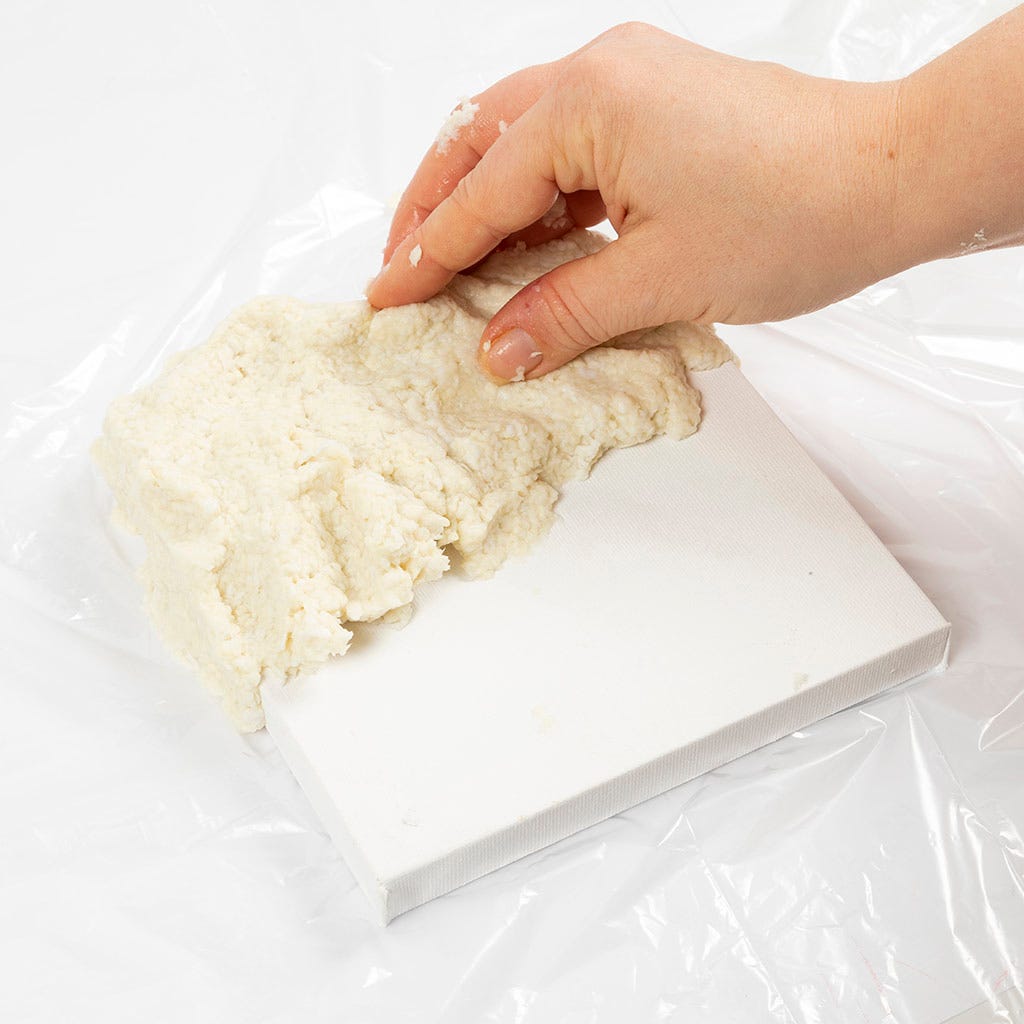
Wall art made with self-hardening clay. Knead the clay well.
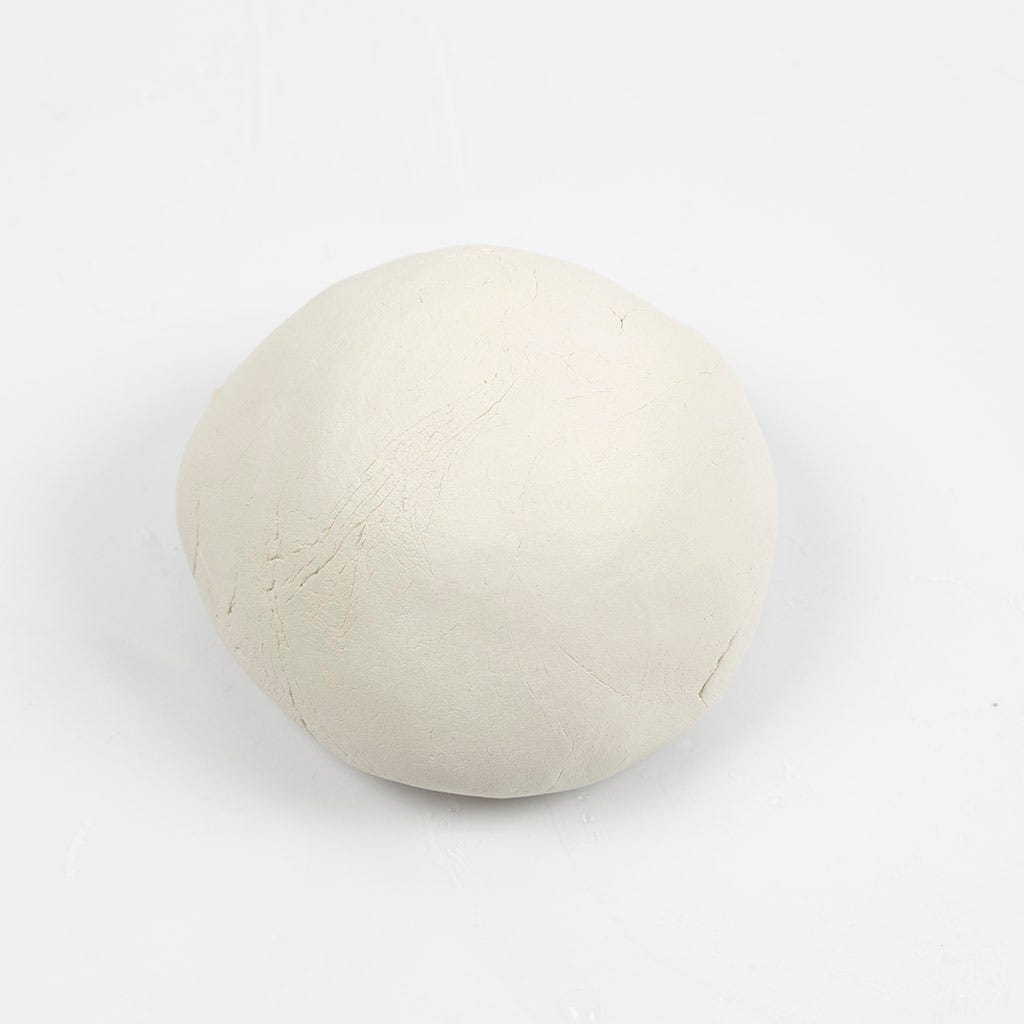
2 Shape it into a ball.
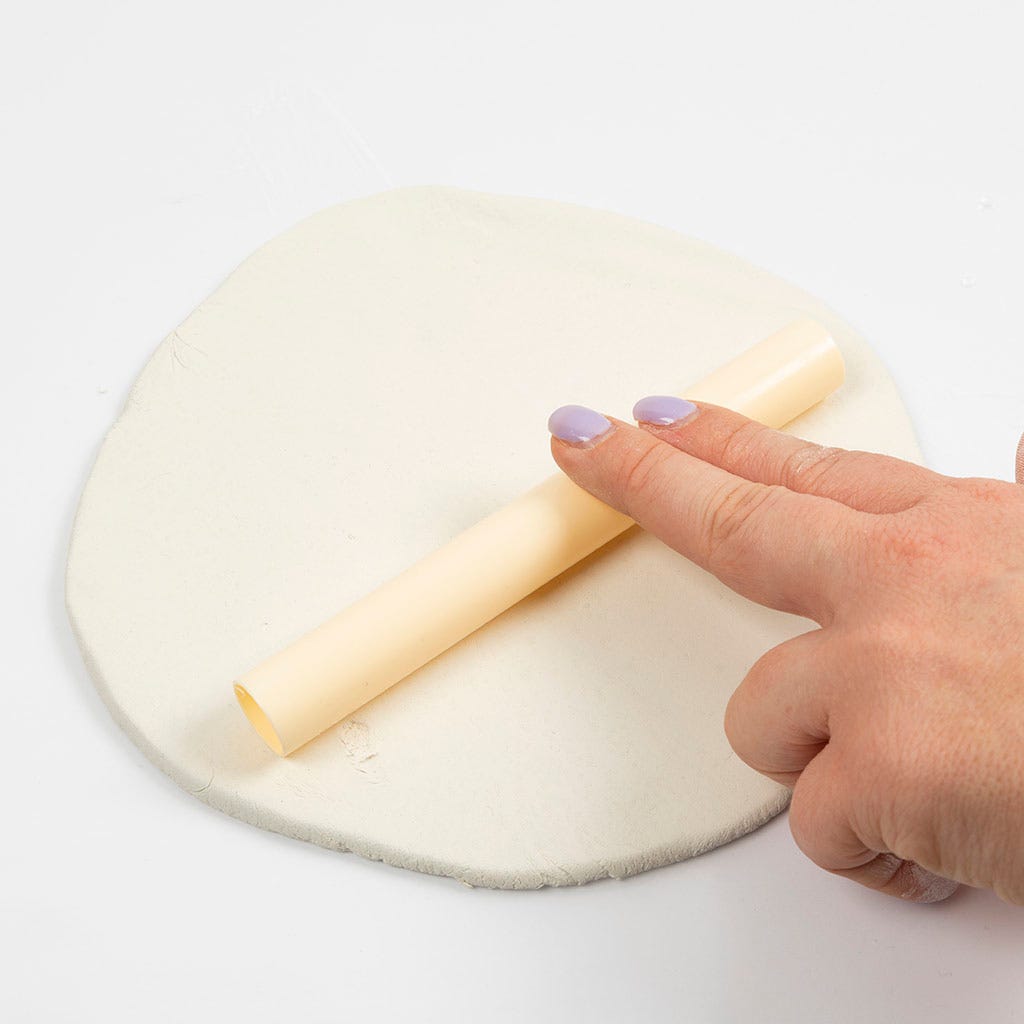
3 Roll the clay flat with the roller to a thickness of about 5 mm. (it must be able to cover the canvas)
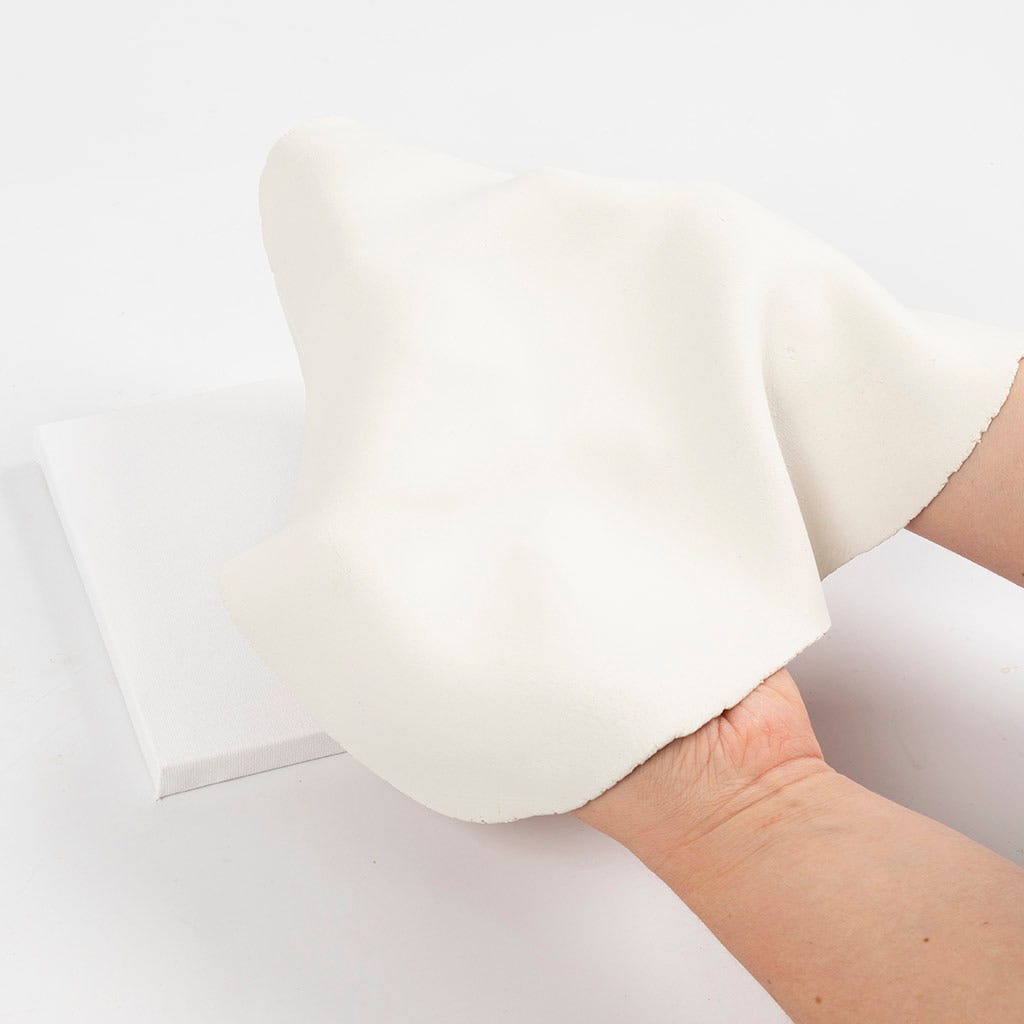
4 Take the clay and place it over your canvas.
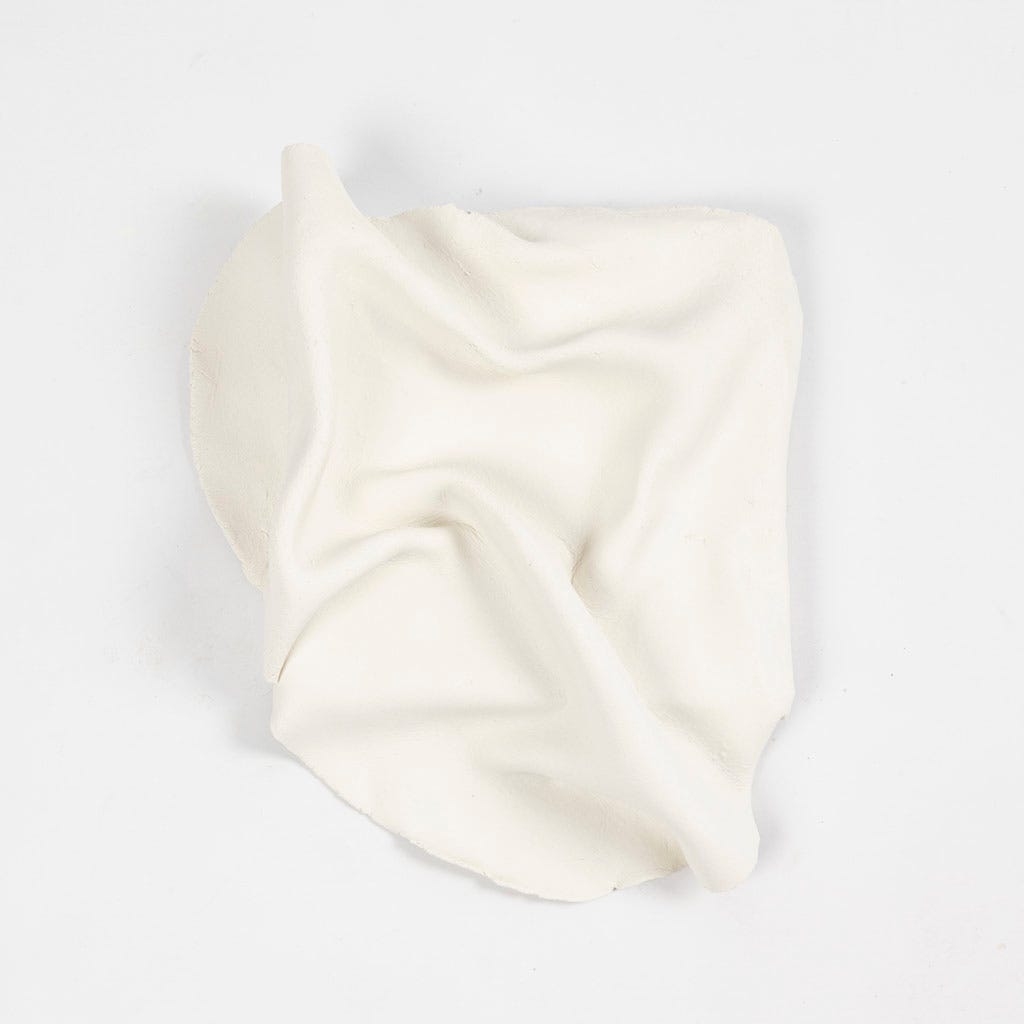
5 Make sure you lay the clay in 'waves' to give a 3D effect. Finally, fold the clay around the edges of the canvas and let it dry for about 48 hours.
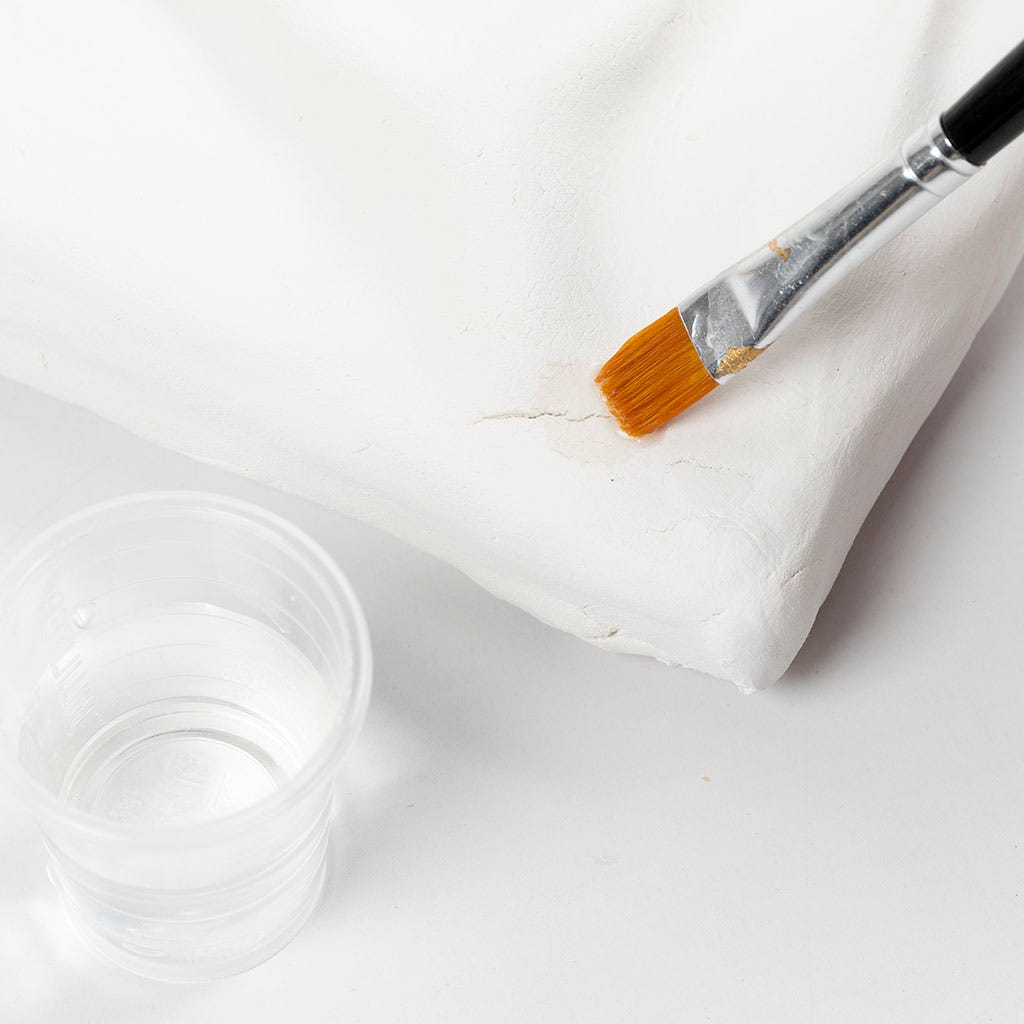
6 It can be difficult to avoid cracks during the drying process. but these cracks can be easily repaired.
Start by moistening the clay with water where the cracks are.
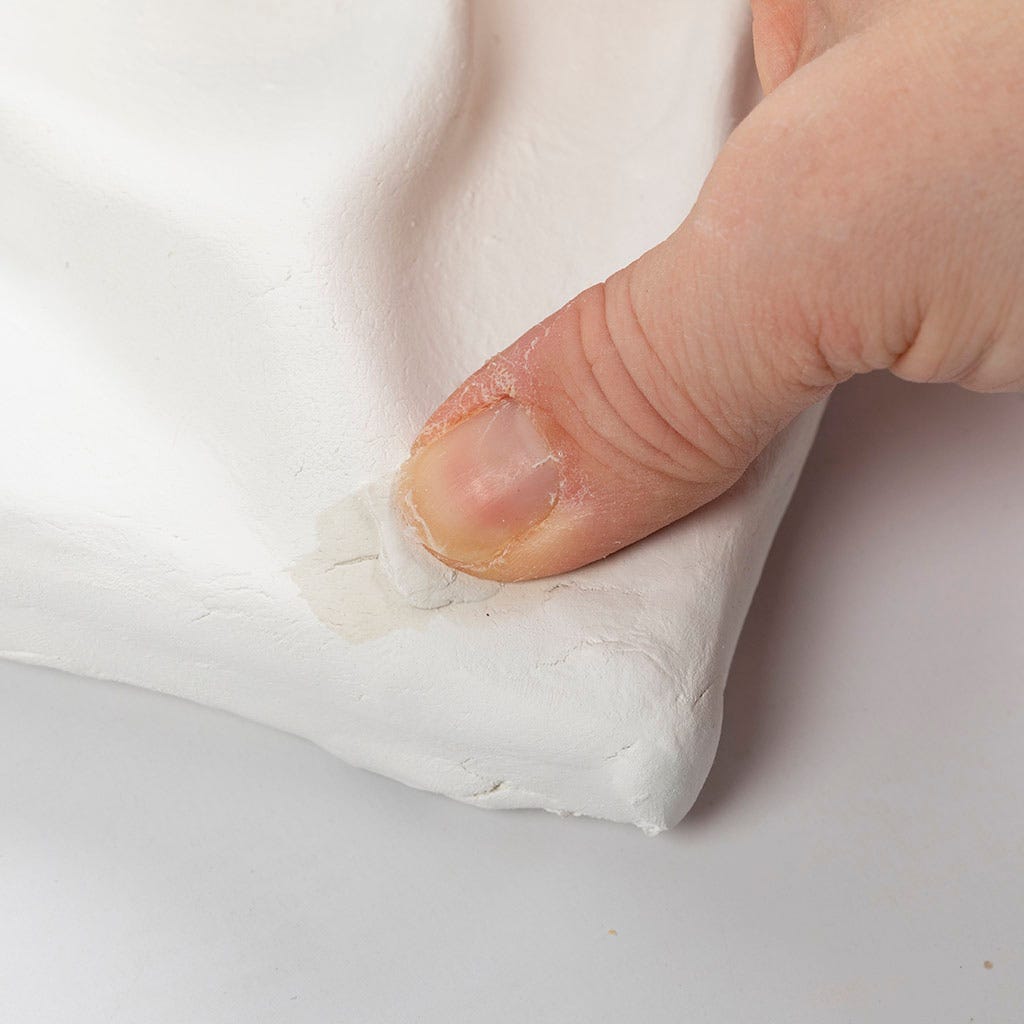
7 Take a small piece of clay, work it into the cracks and let it dry.
Wall art with papier-mâché. Mix the papier-mâché with water according to the instructions on the packaging. Spread the papier-mâché over the canvas to create a thick layer. Use your fingers to create the surface you want. When the canvas has the desired surface, allow it to dry.
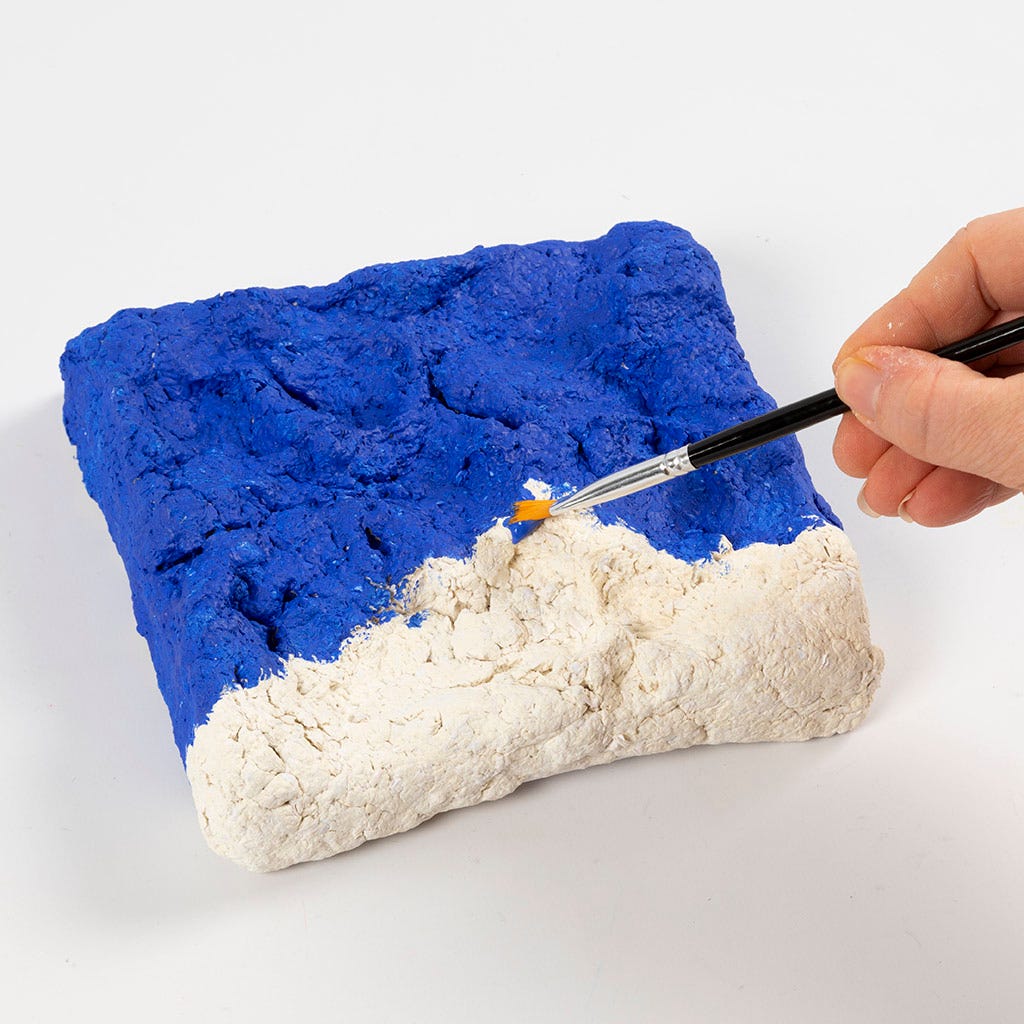
9 Once the papier-mâché is dry, your piece is ready to be painted. It's ready for hanging as soon as the paint is dry.
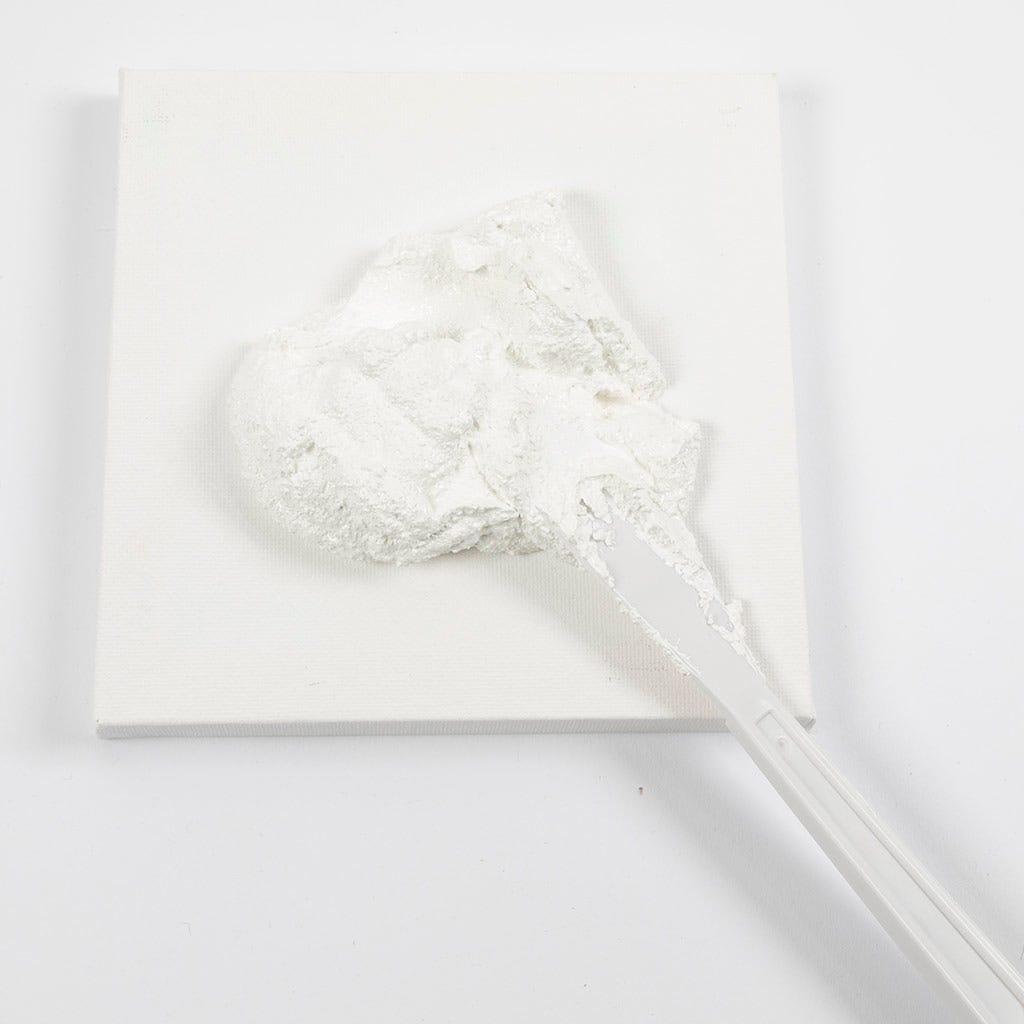
Wall art made with modelling paste. Spread a thick layer of modelling paste over the canvas. Make sure to cover the edges as well.
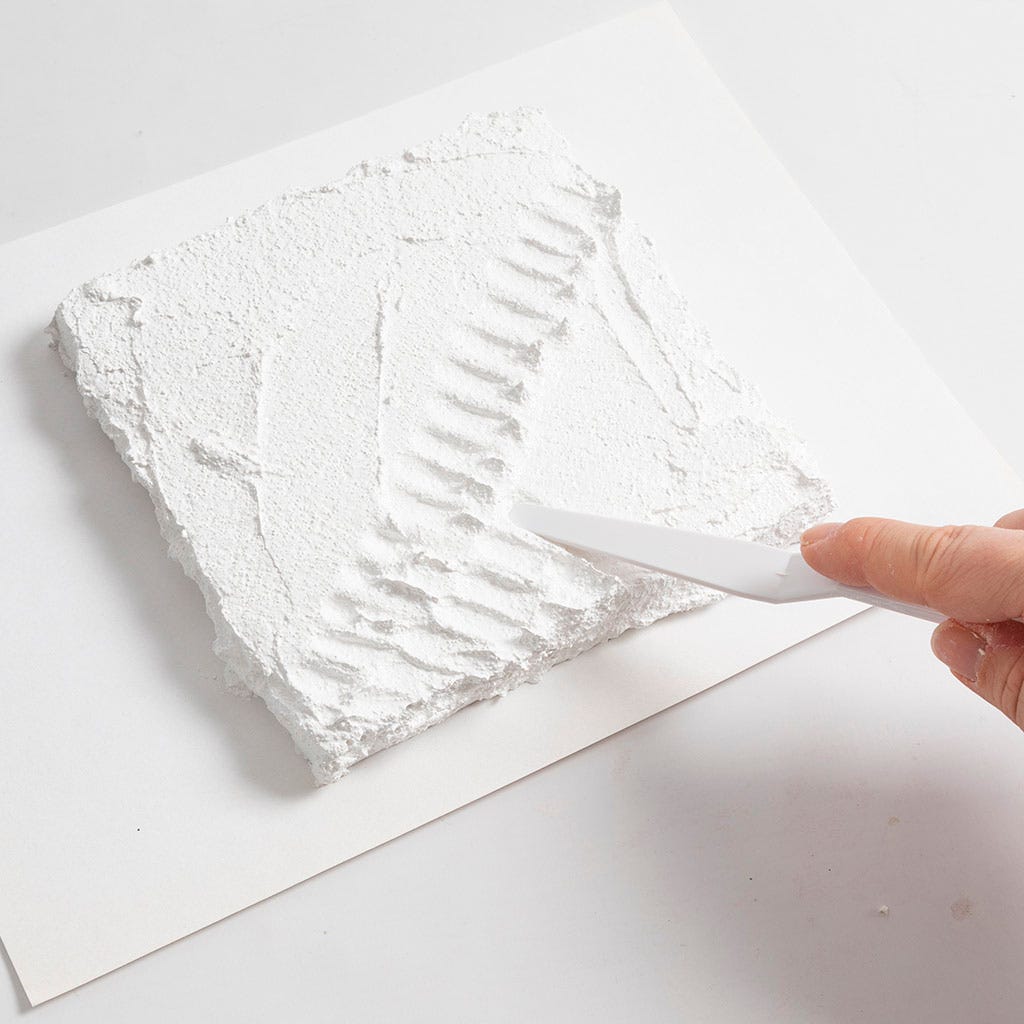
11 Use spatulas to create different patterns on your canvas. Create this pattern by making small strokes with the end of the spatula towards the edge of the canvas.

12 This pattern is created by running the tip of the spatula across the canvas.
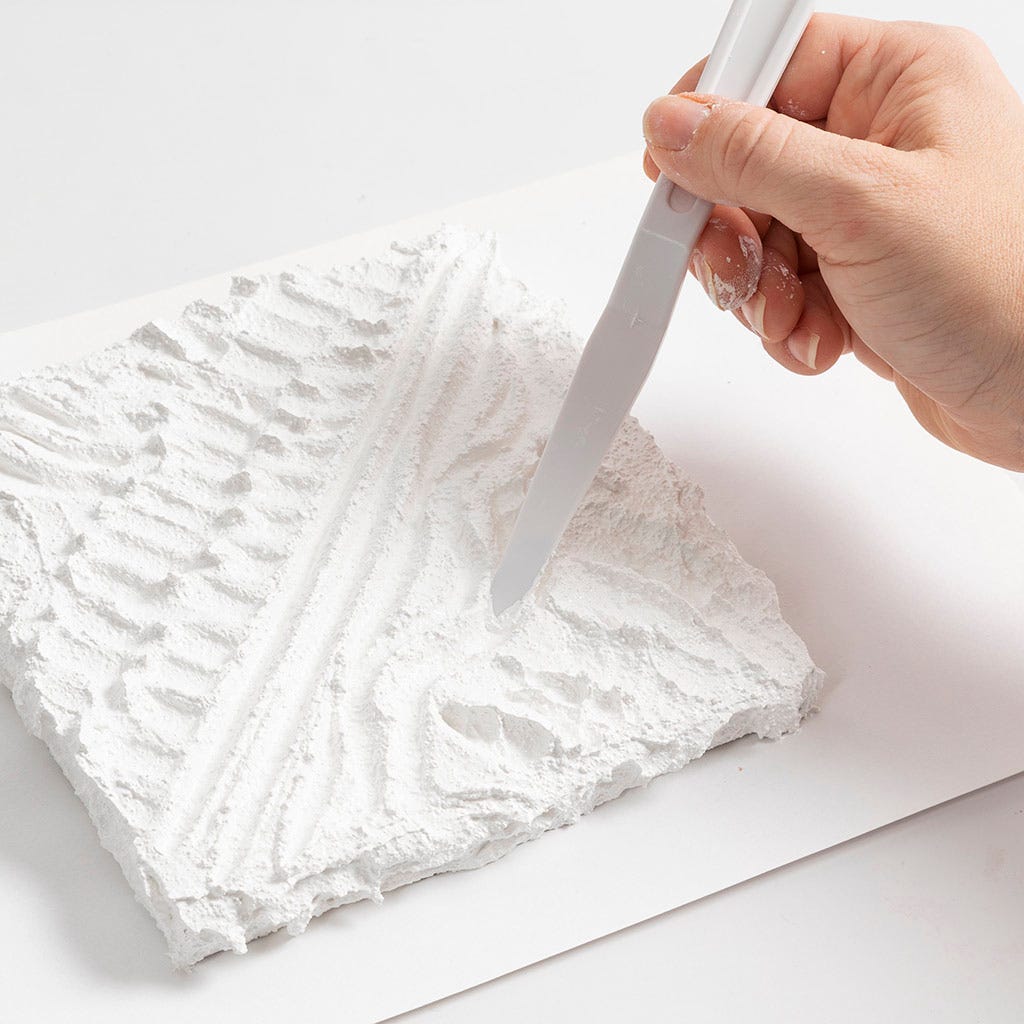
13 This pattern is created by running the tip of the spatula in a wavy motion across the canvas.
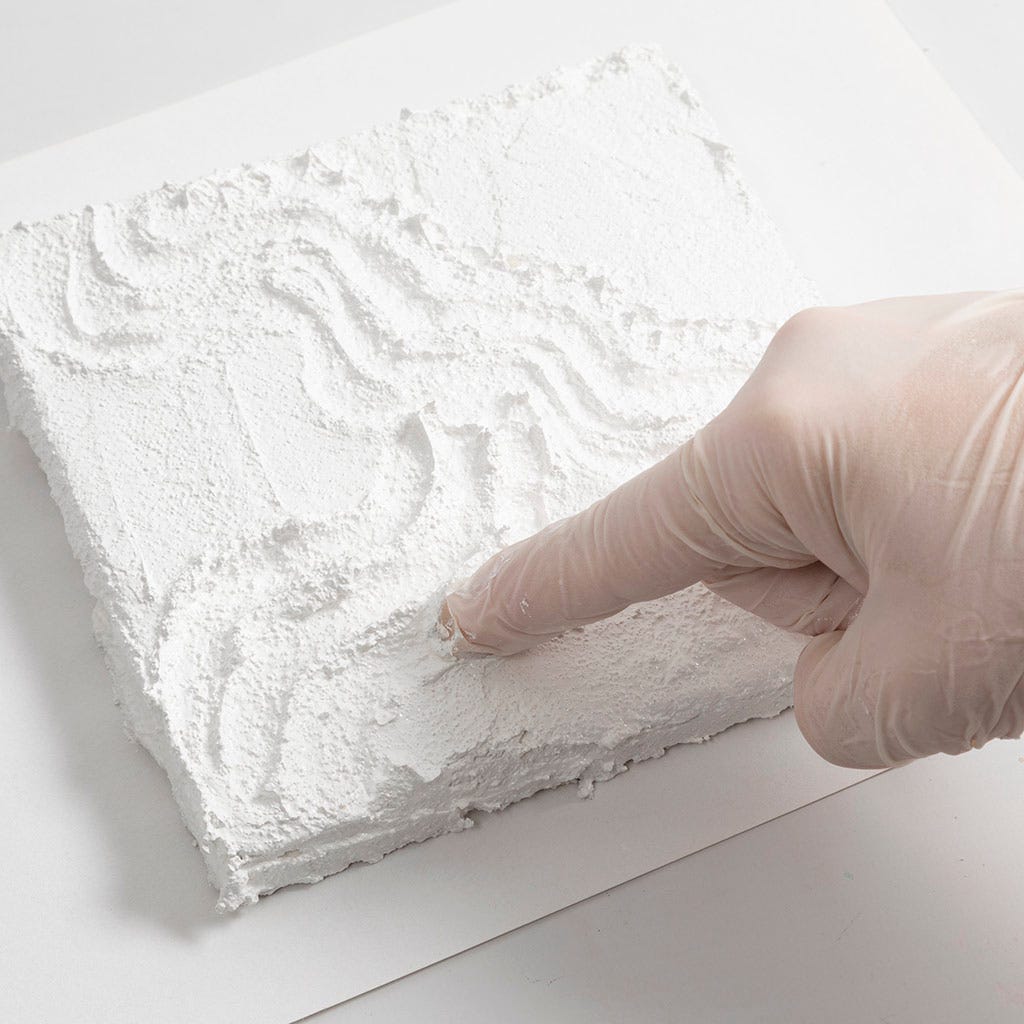
14 You can also use your fingers to create beautiful patterns. If you use your fingers, it's important that you wear plastic gloves to protect your skin. When you have achieved the desired pattern, allow your piece to dry.
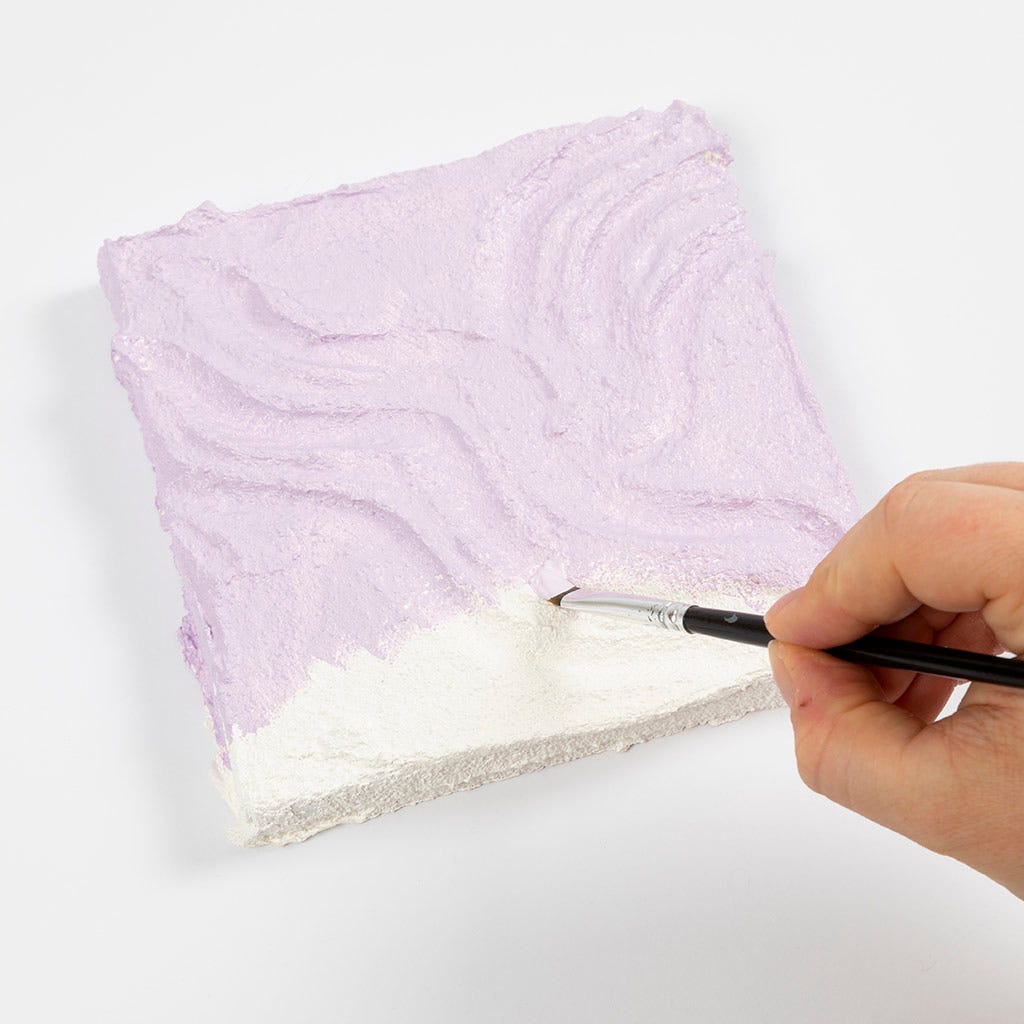
15 Once it's dry, you can paint it. Your piece is ready for hanging as soon as the paint is dry.
Also go exploring in
